
| » Forum Index » Reader's Tutorials » Topic: Creating realistic Rain Effect |
|
Posted on 26/02/07 00:30:45 AM |
|
michael sinclair
Off-Topic Opportunist Posts: 1754 Reply |
Creating realistic Rain Effect
Please click on each of the pictures to see a larger image. My standard work procedure is always to make a duplicate of the Background Layer, and then to hide the original Background Layer by clicking on the Visibility icon. 1. Reflections are necessary to make the Rain effect convincing; therefore, make two further duplications of the scene you wish to add Rain Effect. 2. Ensure that both the Background copy and the first Duplicate Layers' visibility icons can be seen. Hide the Second duplicate Layer by clicking on its Visibility icon. 3. Make the First Duplicate Layer active by clicking on it. 4. Under Edit/Transform click on Flip Vertical. 5. Erase the the first half ( left-hand side) of the image. 6. Now drag the remaining half of this upside-down image down where the building ends and the pavement begins, so that you are ready for the next move. 7. Select the Move Tool and move the cursor over one of the top corner points (handles). 8. Press control and hold it down, and while doing this click the left mouse button and drag the corner handles so that they align with the bottom of the buildings. Now you will understand why only half the image was kept, as it takes some practice to get a reasonable fit. 9. Next make the second duplicate layer active, and Edit/transform/flip vertical this layer too. 10. This time erase the second half ( right-hand side) and drag down to approximately where the house and pavement end and begin. 11 Again using the Move tool select one of the corner handles and Control left-hand mouse click to align where windows, doors etc join. 12. With the Eraser Tool selected use a large soft brush set to very low opacity, and on each of the Duplicate Layers in turn, erase where the edges meet so that you get a smooth join. Don't forget the pavement is underneath the two layers, and that the opacity of these two Layers will be reduced too. 13. Hide the Visibility icon of the Background copy Layer, so that only the two upside down Layers are showing or visible. 14. In the main Menu go under Layers and select Merge Visible. 15 . Once this has been done make the Background copy visible again by clicking on its Visibility icon. 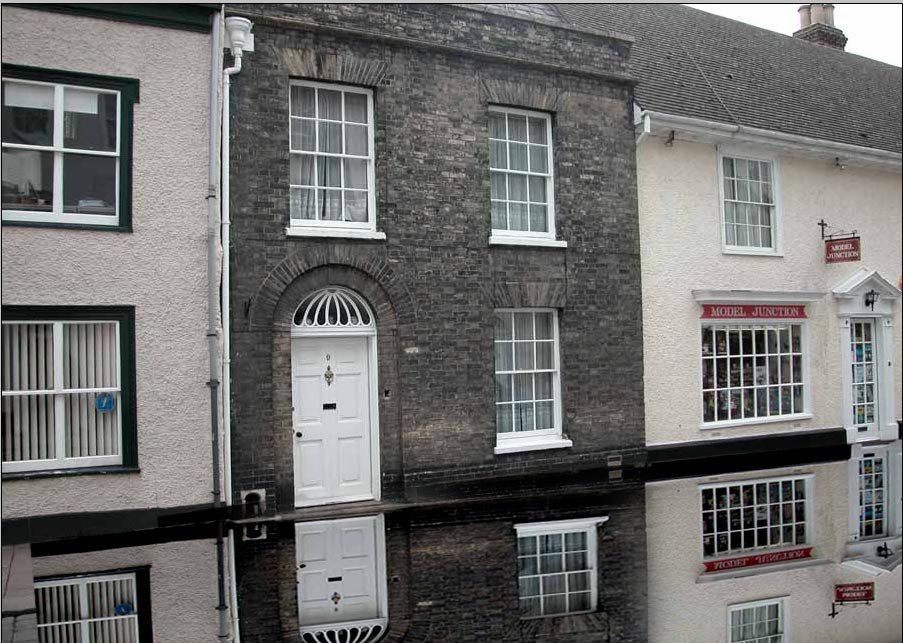
16. Click on the newly merged Layer (upside down image) to make it active, and from the Layers Palette reduce the Layer's opacity so that a realistic reflection is achieved by having some of the pavement and cobbled road show through: 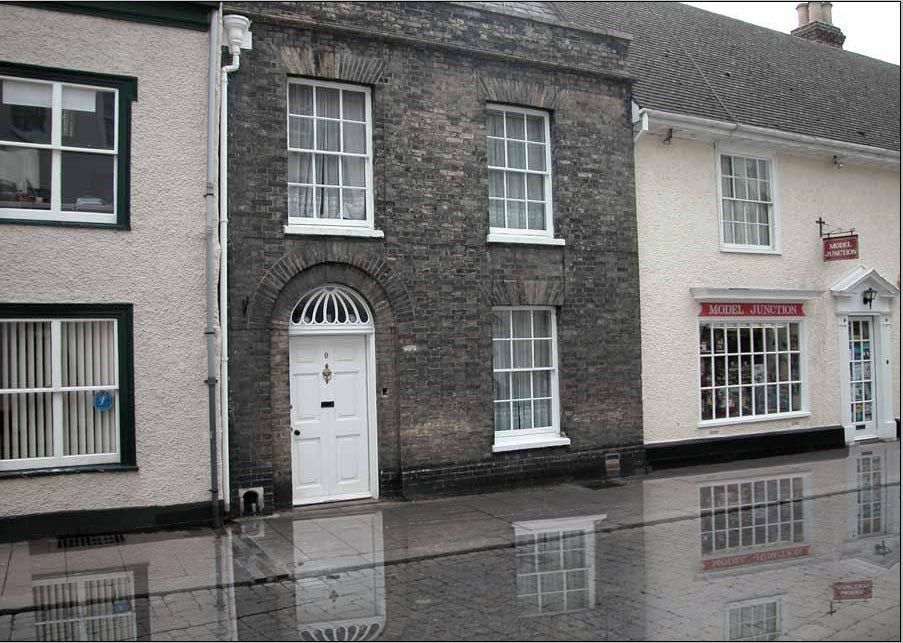
17. Some distortion needs to be introduced into the reflection, so From the main menu under Filter/Distort select Ripple. Note by default the zero setting for this filter is in the centre, so going either way and further from this central point will result in greater distortion. 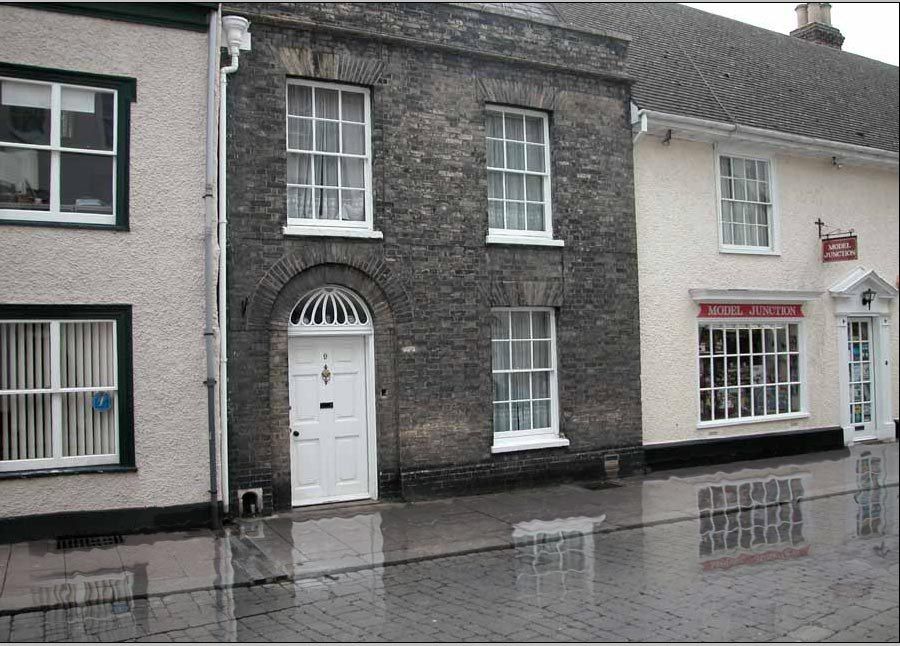
That's the reflection sorted out now for the rain: 18. Click on the New Layer button at the bottom of the Layers palette. 19. In the main Menu under Edit/fill with White 100% opacity ( Yes, there is a shortcut, but I was born with a Lobotomy, which means I'm downright lazy). NOTE: if you wanted snow then a Black fill instead would be ideal. 20. Next From the main menu go under Filters/Noise and select Add Noise, push the slider nearly all the way to the right as shown: 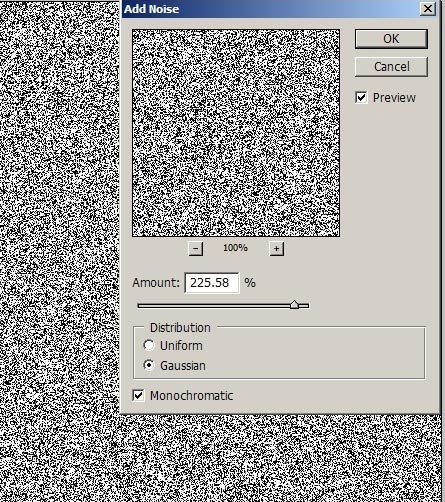
21. Go under Filters again and choose Blur then select Motion Blur with a Distance setting of about 35 as shown: 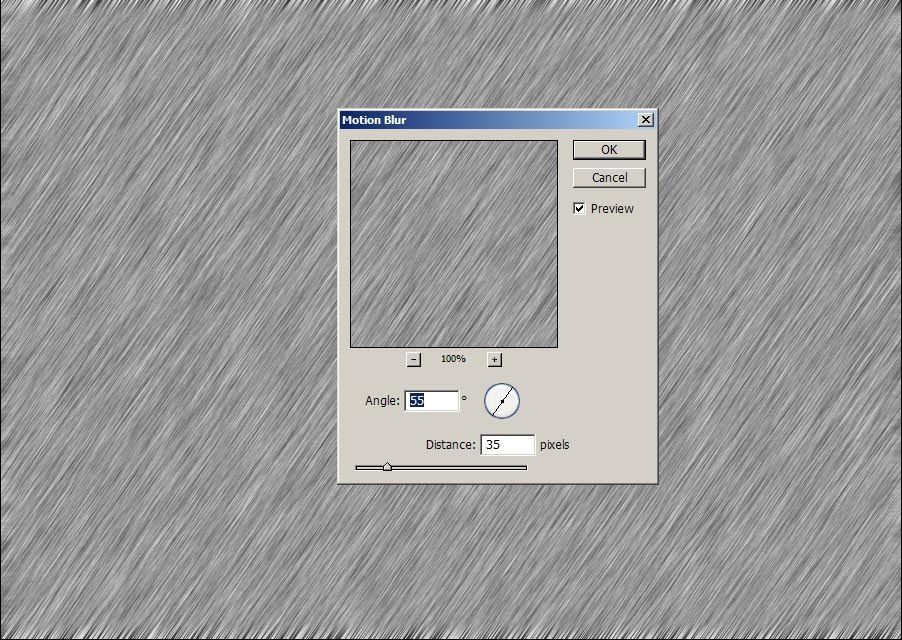
22. With this Layer's Blend Mode set to Normal reduce the Layer's opacity so that the underlying image becomes realistically visible, though not too much at this stage. 23. Under Filters select Blur and choose Blur. The hard lines of rain have been softened--maybe too much, so before any other adjustments, go to Edit in the main menu and select Fade Blur and adjust accordingly as shown: 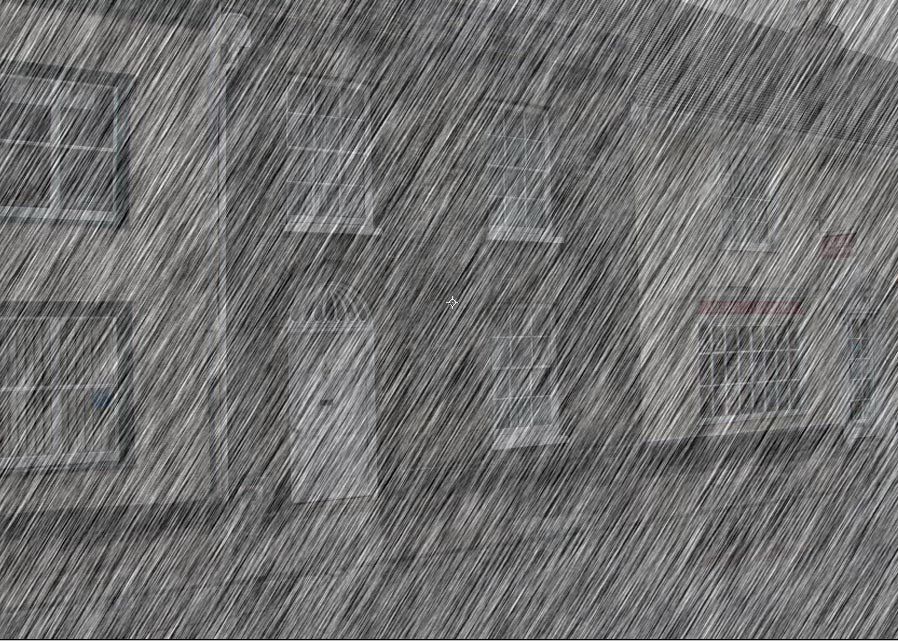
24. Around the edges of the new rain Layer will be seen the hard and harsh lines produced by the filters, so select the Move Tool and simply "click and drag" each of the four sides outwards a little. 25. Reduce the opacity to around 42% and use the Brightness/Contrast adjustment to darken the rain Layer. 26. Finally, with a very low opacity large soft brush erase parts of the foreground farthest from the houses as shown: 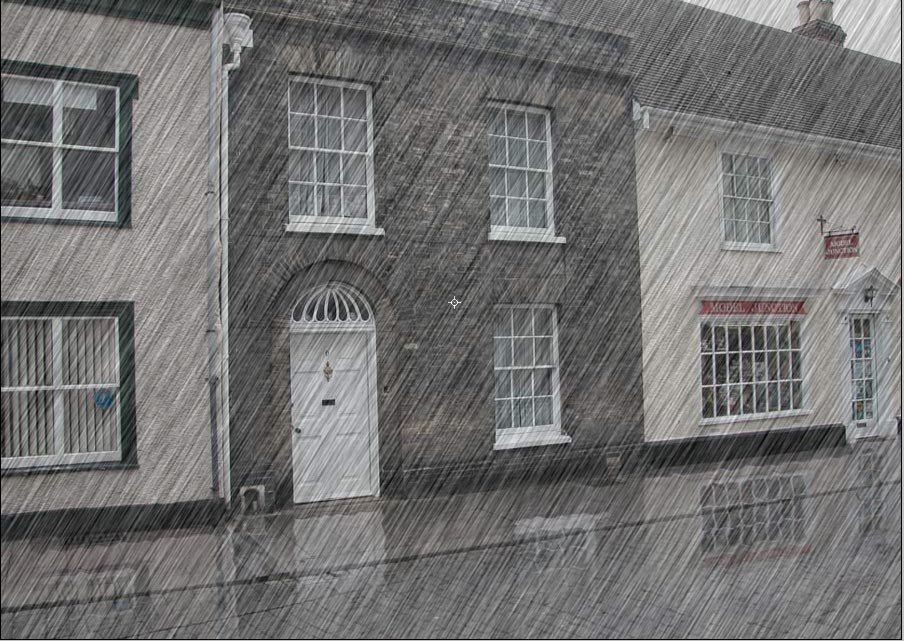
Here's an animated gif as well: 
Rain Effect tutorial by Michael Sinclair |