
| » Forum Index » Problems and solutions » Topic: Scanned image |
|
Posted on 02/02/12 05:39:52 AM |
|
Daniel
Poser Professor Posts: 192 Reply |
Scanned image
Hi everybody, What is the best way of removing the bluish background from this scanned image (and make it nice  )? )?
Thanks Daniel 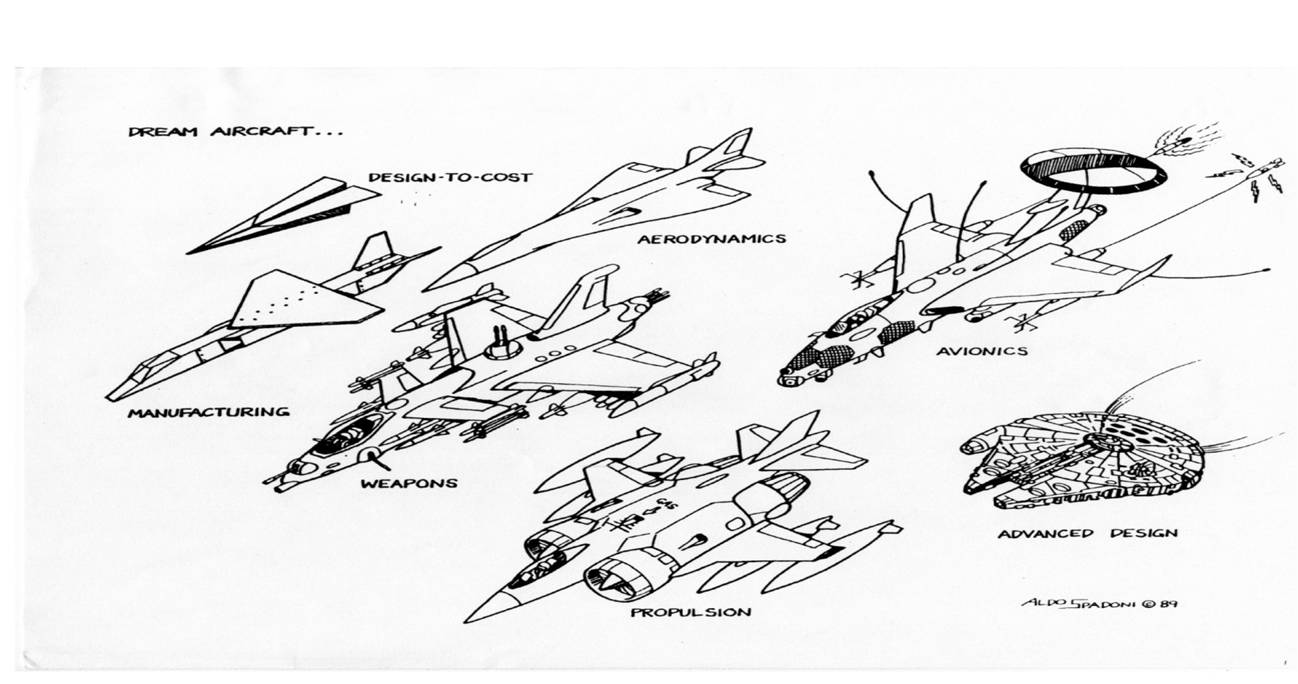
|
Posted on 02/02/12 08:21:29 AM |
|
Steve Caplin
Administrator Posts: 7178 Reply |
Re: Scanned image
There is no bluish background - this is a greyscale document! Either your monitor or your eyes need adjusting. Otherwise, increasing the brightness and contrast makes the background less murky: 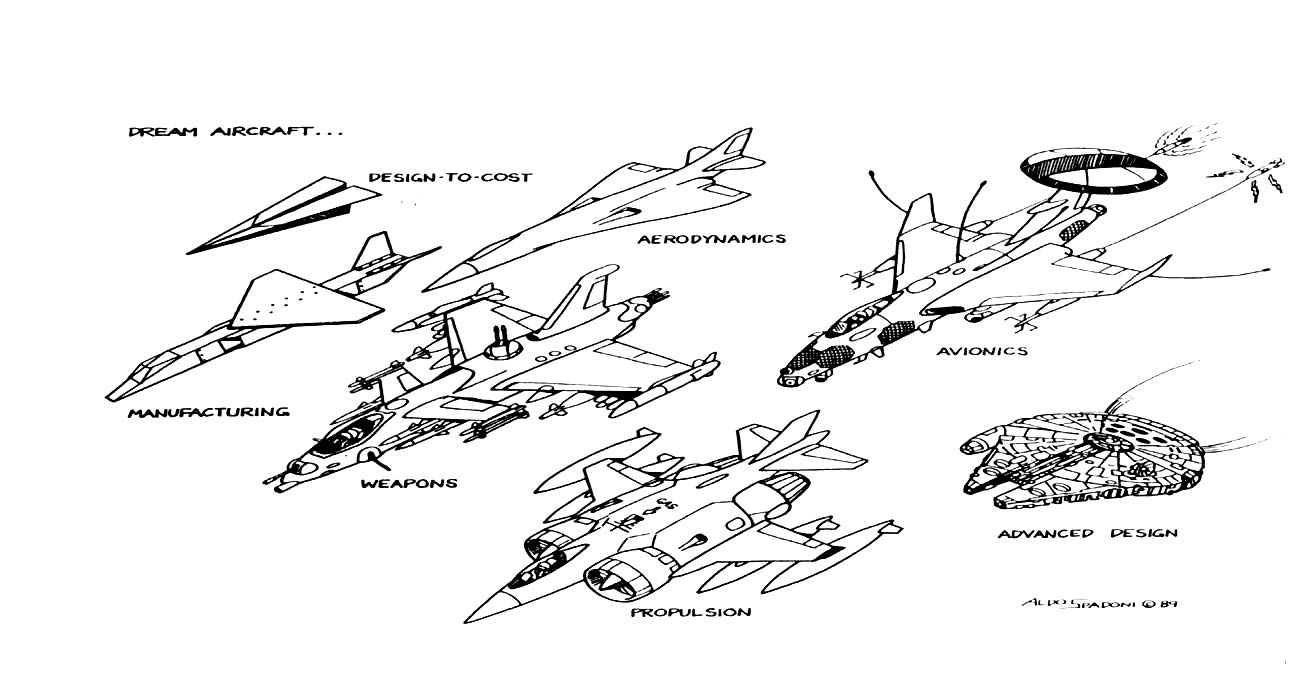
|
Posted on 02/02/12 08:42:41 AM |
|
Nick Curtain
Model Master Posts: 1802 Reply |
Re: Scanned image
The method I use for this is to create a levels or curves adjustment layer and apply the white eyedropper to the background. This will force it to white. If there are any darker parts remaining, then I paint them out usung a white brush. Nick |
Posted on 02/02/12 08:45:34 AM |
|
Steve Caplin
Administrator Posts: 7178 Reply |
Re: Scanned image
You're right, Nick - that's a much better method. See, it takes a photographer to understand white points. |
Posted on 02/02/12 10:31:32 AM |
|
Daniel
Poser Professor Posts: 192 Reply |
Re: Scanned image
Steve and Nick, Thanks so much for the quick response. I really appreciate it. Cheers Daniel P.S. you are right about the color thing Steve It must be the monitor of my computer at my work, because when I look at it now at home, I dont see any colors |
Posted on 02/02/12 10:38:45 AM |
|
Daniel
Poser Professor Posts: 192 Reply |
Re: Scanned image
Guys, One last thing ... What is the best way of turning the outline of the drawings from black to another color, say blue? Thanks again Daniel |
Posted on 02/02/12 10:49:01 AM |
|
GKB
Magical Montagist Posts: 4176 Reply |
Re: Scanned image
Hi Daniel, There are a few ways of doing this. One is to select all the white and delete. Lock the layer and fill with any colour you wish. Or you could selectively paint parts of the image with different colours. Gordon _________________ Only one shopping day left until tomorrow! |
Posted on 02/02/12 1:27:54 PM |
|
Steve Caplin
Administrator Posts: 7178 Reply |
Re: Scanned image
Oh, I wouldn't recommend deleting the white. That's bound to produce ragged edges. Use the Hue/Saturation dialog and click the Colorize button. Increase the Brightness a little, then change the hue and saturation sliders to any colour you like. Alternatively, make a new layer filled with the colour you want, and change its mode to Lighten. |
Posted on 02/02/12 2:11:53 PM |
|
Daniel
Poser Professor Posts: 192 Reply |
Re: Scanned image
Hi Gordon, and thanks a lot for the suggestion. I appreciate your help. And Steve, thanks again. Both methods worked perfectly. Have a nice day ... |
Posted on 02/02/12 8:52:46 PM |
|
Ben Mills
Luminous Luminary Posts: 570 Reply |
Re: Scanned image
Try a gradient map on an adjustment layer with paper colour on the right end of the gradient and ink colour on the left. Then edit the gradient to get the colours you want. |
Posted on 03/02/12 1:31:41 PM |
|
Daniel
Poser Professor Posts: 192 Reply |
Re: Scanned image
Hi Ben, I just tried your method, and it worked very well. Thanks a lot. |